Contents
- Objectives
- Load Testing
- Tools to Perform Load Testing
- Install Docker
- Locust File
- Docker Compose File
- Running The Load Test
Objectives
This guide will explain the basics of load testing and how to with Locust and Docker Compose.
Load Testing
Load Testing is a type of performance testing that helps in determining how the application will behave when multiple users access it simultaneously.
In load testing the goal is to break things.
YOU DON’T WANT THESE TESTS TO PASS - You want to find the applications absolute limit, investigate what is going wrong, improve the code, and do it all over again.
We're looking for 3 things:
Breaking Points
Something went critically wrong with the application and you start getting status code 500.
Example: Ran out of memory.
Throughput
How many requests your application can get through before something breaks.
Latency
How long these requests are taking.
Tools To Perfrom Load Testing
Locust, Apache JMeter, Vegeta, k6.io, Loadrunner, LoadUI
For this guide, we'll be using Locust. Locust is extremely lightweight, open source, can be ran from any machine that has a Python runtime, developers write there tests in Python, no need to code in XML like some of the other tools mentioned, supports running distributed load tests over multiple machines and can therefore be used to simulate millions of simultaneous users if need be.
Install Docker
For this guide we only need to install Docker. With Docker we'll be able to spin up containers that have Python and Locust already installed. We would just have to provide the location of our custom locustfile.py that will instruct Locust where and how to test.
Locust File
Once we have Docker installed we need to create a project directory and a file named locustfile.py with the following code:
  from locust import HttpUser, TaskSet, task, between

  class UserTasks(TaskSet):
      @task(1)
      def index(self):
          self.client.get("/")

  class WebsiteUser(HttpUser):
      tasks = [UserTasks]
      wait_time = between(2, 5)
Breakdown of the locustfile.py:
- First, we're importing locust
- Second, we need to create class that inherits the TaskSet class. A TaskSet is, like its name suggests, a collection of tasks. These tasks define the behaviour of the "user".
- In this class, we're directing the user to visit the index page or /
- Next, we're creating a class that inherits the HttpUser class. A HttpUser class represents one user. Locust will spawn one instance of the HttpUser class for each user that is being simulated.
- Some of the attributes the HttpUser class should define are tasks and wait_time.
- The task attribute should point to a TaskSet class which defines the behaviour of the user.
- The wait_time method is used to determine for how long a simulated user will wait between executing tasks. In this case between 2 and 5 seconds.
Docker Compose File
Now we need to create instructions for Docker. For this we'll create a file called docker-compose.yml with the following instructions:
  version: '3'

  services:
    master:
      image: locustio/locust:master
      ports:
       - "8089:8089"
      volumes:
        - ./:/mnt/locust
      command: -f /mnt/locust/locustfile.py --master -H http://master:8089

    worker:
      image: locustio/locust:master
      volumes:
        - ./:/mnt/locust
      command: -f /mnt/locust/locustfile.py --worker --master-host master
Breakdown of docker-compose.yml:
- We'll be using Compose file format version 3
- Next we'll define the services needed so they can be run together in an isolated environment.
- The first service is the master. The master will use Locust's official image from Docker Hub.
- It will then bind the container and the host machine to the exposed port, 8089.
- The volumes key mounts the project directory (current directory) on the host to /mnt/locust inside the container, allowing you to modify the code on the fly, without having to rebuild the image.
- The final line on the master service is the command needed to run locustfile.py. --master will run this container as the master and -H is the host to be tested, in this case itself.
- The worker service also uses Locusts official image and the same volume mount.
- Since this is a worker reporting its data to the master, we don't need to open up a port between our host machine and the worker container.
- The big difference is in the command used to run Locust. This one has --worker to indicate it is a worker and --master-host is pointing to our master service.
Running The Load Test
To run the load test. Go into the project folder and type the following into your command line:
docker-compose up
You can also do load testing with a cluster of workers (3 in this case) by running:
docker-compose up --scale worker=3
Once the command has been ran and no errors are shown, you can visit http://localhost:8089 and you should see a webpage like this:
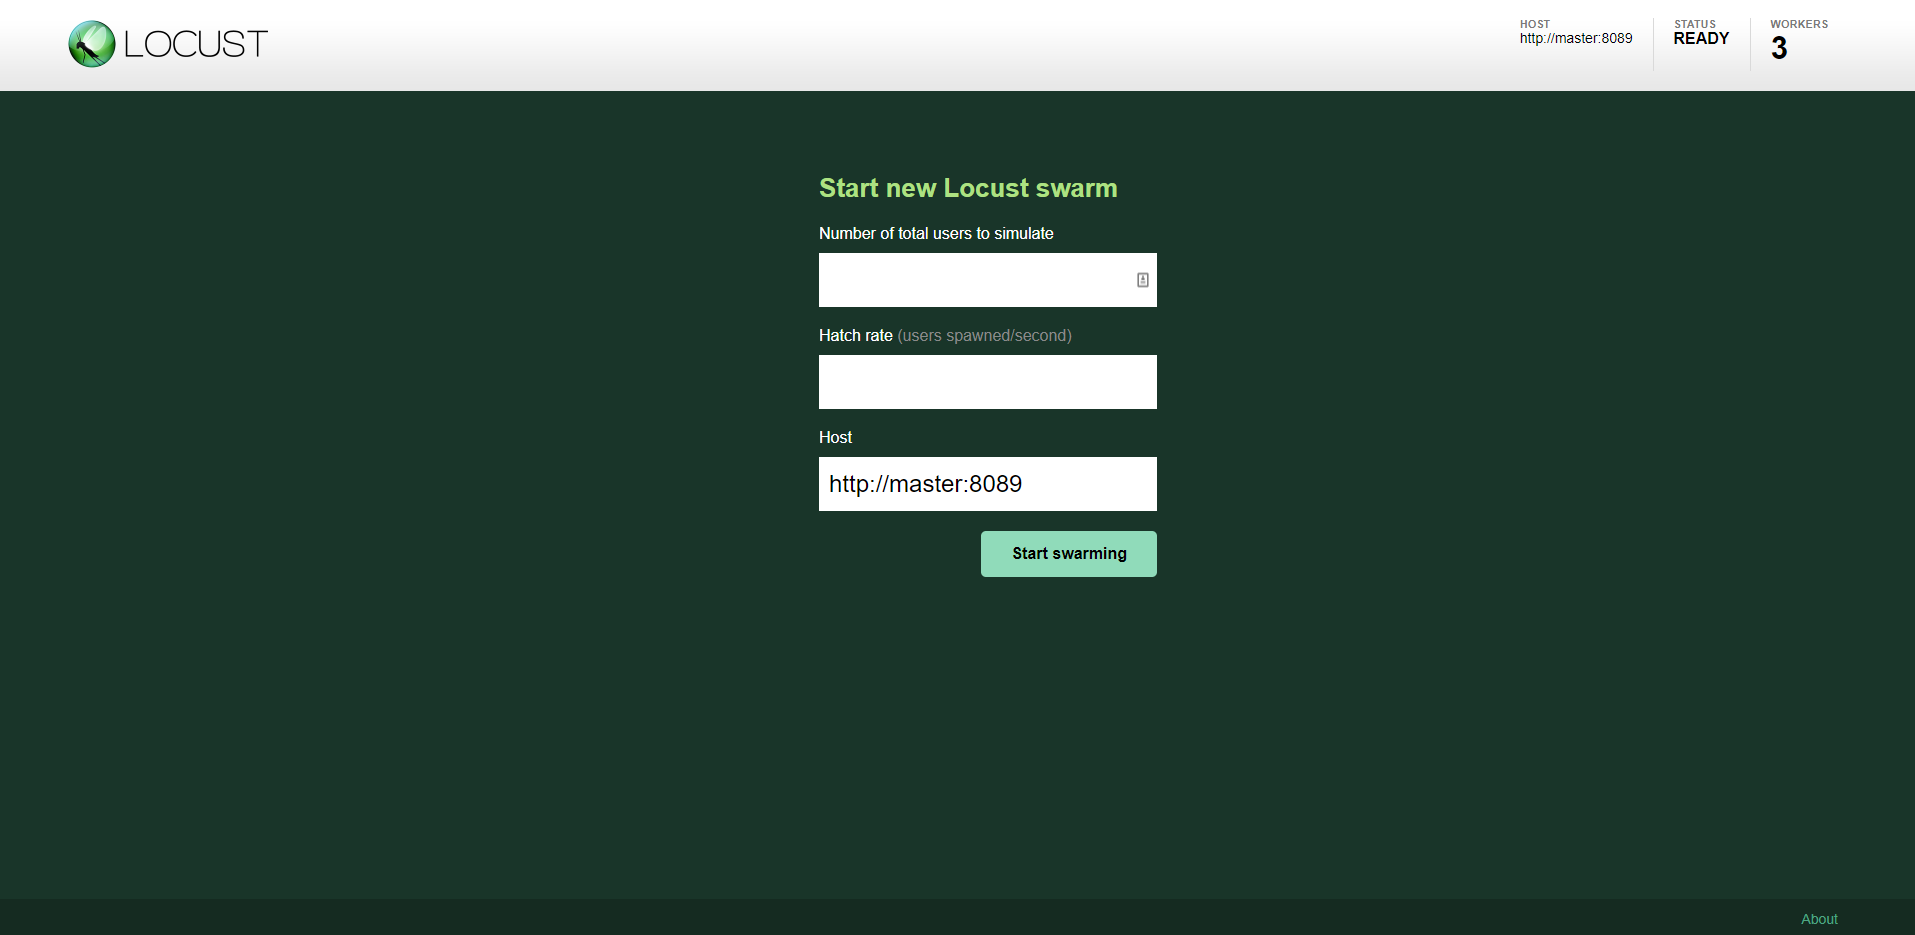
From this webpage we can set the number of users and how many we want to spawn every second. This will run a load test on the master service itself, but you can change the host to be whatever you want, this can be done on the webpage's form input or the docker-compose.yml file's command attribute for the master service.
Here is what the "Statistics" page will look like once we start running the test:

In the "Workers" tab, you'll be able to see what each worker is doing:
